
I have no idea who to give credit to on these purses as I have seen so many adorable designs and many link to other folks or no one at all. So, I will simply describe how I did my purses. I needed seven for the swap, but I had enough fabric to make eight so that is the number I made.

For this project, you will need a Big Shot and the Stampin' Up! Scallop Square Die. You will also need your favorite fabric, some quilt batting, a sewing machine and thread. You can also choose to embellish with other die cuts, buttons, ribbons or other accessories.
Here are the instructions, you can also search YouTube for several videos for making the purses.
- Cut 28 scallop squares using the Big Shot and your Stampin' Up! Scallop Square Die. 24 of my squares were from my cotton fabric. The other four were cut from a brown-vinyl material and used on the bottom of the purse. This is the same fabric that I used for the handles.
- Next, cut 12 batting squares. If you are using cotton for the bottom of your purse, you'll need 14 squares of batting. The vinyl material I used had a cotton backing so I did not add extra cotton. Your squares should be about 3 3/4 x 3 3/4 inch square. This allows for some seam margin so you aren't sewing through so many thicknesses. You will be making a sandwich with your fabric and batting (described in step 4).
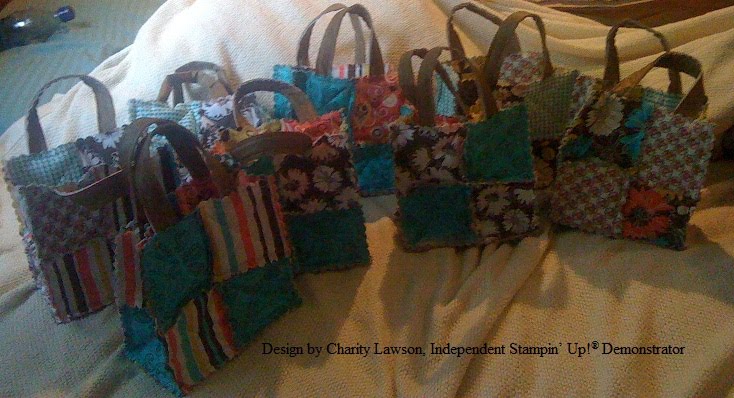
- If alternating prints, figure out your pattern and decide how you will pair your fabric. The purses are totally reversible so you have to figure out the front and back, taking care to watch for pattern directions. Mine is shown below.
- Time to make sandwiches- Layer one fabric square, wrong side up. Apply a bit of glue stick to the wrong side of the fabric and add a batting square. Add some glue to the wrong side of your top piece of fabric and stick it to the batting. Viola, a sandwich. Repeat with all your squares until complete.
- Quilt the squares by sewing an "X" corner to corner on each square. This will leave openings on each edge of your square, this will be important later when you add your handles.
- Layout your squares in the order you will sew them, my layout is shown. The front and back of the purse consist of four sandwiches each (rows 1, 2, 4 and 5). To create the sides and bottom, sew a row of six sandwiches (row 3). Create one row at a time, then sew the rows together in order (1 to 2, 3 to 4). Then sew your front and back to row 3 at the location depicted in the layout.
- To join the sides to the front and back you will make a seam joining Row 1&2, squares A and B to Row 3 square A and B. Continue until you have a bag.
- For the handles, you can cut fabric to length and either leave the seams rough (wrong sides together) or sew right sides together and then invert. Either way makes a nice purse. I decided to have rough edges since I liked the rag look and will mostly use my purse that way. You can also use ribbon for the handles.
- Along the top front of your purse, insert one end of your handle into the open edge of the square (the triangle) and secure with a pin. Repeat with the other end on the other square in the top row. Then do the same with the back side.
- Sew along the edge of the top to close up all the squares. FYI- All my seams were 3/8 inch, including the top edge.
- Embellish if you desire, including adding buttons to close.


God Bless, Happy Stampin' and Happy Sewin'!
Charity
No comments:
Post a Comment